Introduction
Over the past few months, we’ve received numerous emails from our readers asking how to build a water elevator in Minecraft. Inspired by these requests and my own nephew’s passion for the game, I decided to explore this topic in-depth. I remember my first attempts at building a water elevator and the challenges I faced, so I’m excited to share a detailed guide to help you master this essential skill.
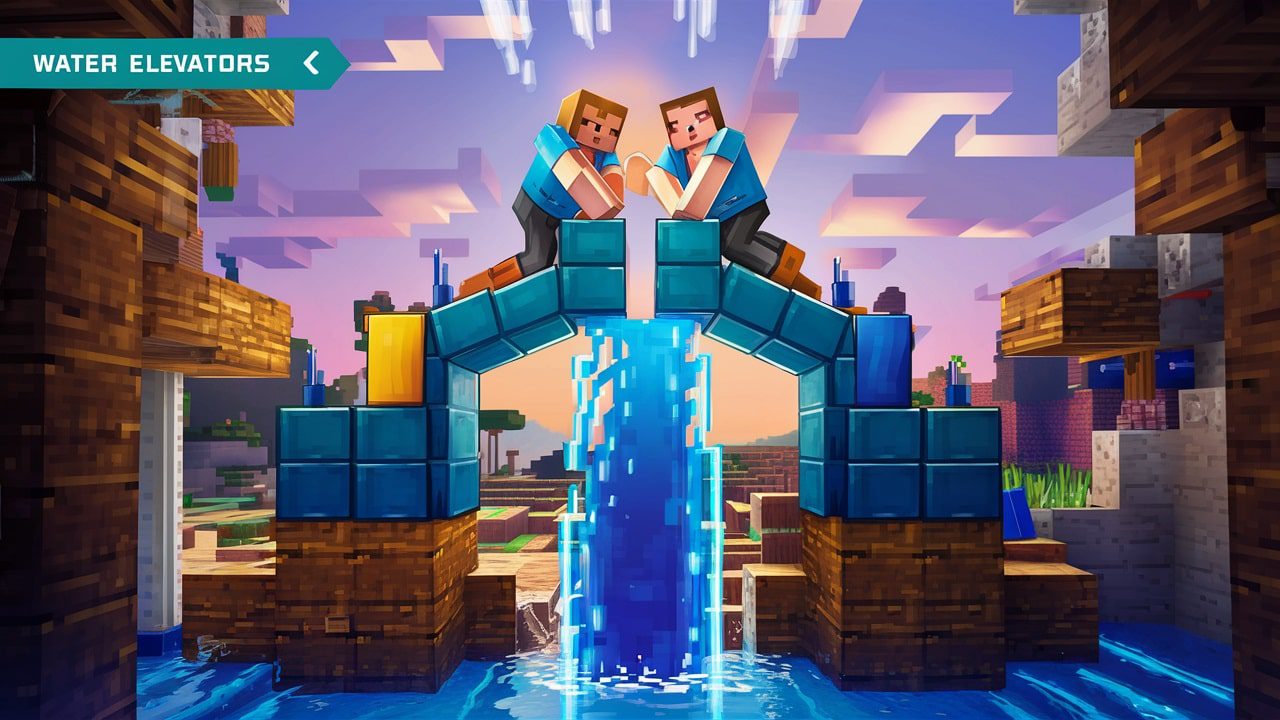
Building a water elevator in Minecraft is not only practical but also adds a fun and efficient way to move vertically within your structures. Whether you’re managing multi-story bases or simply want a quick way to navigate your mines, this guide will provide you with all the steps you need to create a functional and stylish water elevator.

How to build a water elevator in Minecraft
Materials Needed for a Water Elevator
Before you start building, it’s crucial to gather all the necessary materials. Here’s what you’ll need:
- Blocks for the Elevator Shaft: glass or any solid block of your choice.
- Water Buckets: to create the water column.
- Kelp: Transform flowing water into source blocks.
- Soul Sand: To create upward bubbles.
- Magma Block: To create downward bubbles.
- Signs or Doors: To prevent water from flowing out of the elevator.
Having these materials ready will streamline the building process and help you avoid interruptions.

Preparing the Build Site
Selecting the right location for your water elevator is essential. Decide where you want to place the elevator, ensuring there’s sufficient vertical space. Clear any obstacles and create a solid foundation for your elevator shaft. Mark out the area where the shaft will be built, making sure it is tall enough to reach your desired height.
Building the Water Elevator
Constructing the Elevator Shaft
Start by constructing the shaft for your water elevator. Use your chosen blocks to build a vertical column. This column will serve as the main structure of your elevator. Make sure it is straight and extends to your intended height. Leave a gap at the bottom for the entrance and at the top for the exit. Using glass blocks can enhance visibility, allowing you to see outside as you travel.
Adding Water and Bubbles
With the shaft in place, it’s time to add water. Begin at the top and use water buckets to create a continuous flow downward. Once the shaft is filled with water, place kelp in the column to turn the flowing water into source blocks. This step is crucial for the functioning of your water elevator.
At the bottom of the shaft, place a soul sand block to generate upward bubbles, which will propel players upwards. If you need a downward elevator, use a magma block instead, which creates bubbles that pull players down. This dual setup allows for efficient vertical travel in both directions.
Tips and Tricks for Efficient Elevators
To enhance the efficiency and functionality of your water elevator, consider these tips:
- Use Glass Blocks: For better visibility and aesthetic appeal.
- Place Signs or Doors: At the entrance and exit to prevent water from spilling out.
- Ensure Adequate Width: Make the elevator wide enough to prevent players from getting stuck.
- Add Lighting: Incorporate lighting within the elevator shaft for improved visibility and a polished look.
Common Mistakes to Avoid
Building a water elevator can be straightforward, but there are common pitfalls to watch out for:
- Forgetting to Use Kelp: Ensure you use kelp to turn flowing water into source blocks, as this is essential for the elevator’s functionality.
- Improper Sealing: Failing to seal the elevator properly can cause water to spill out, disrupting the build.
- Using Incorrect Blocks: Remember to use soul sand for upward movement and magma blocks for downward movement.
- Narrow Shafts: Building too narrow shafts can trap players and hinder movement.
Frequently Asked Questions
Why isn’t my water elevator working?
If your water elevator isn’t working, check if all the water blocks in the shaft are source blocks. Using kelp to transform flowing water into source blocks is essential for the elevator to function correctly. Also, ensure you have placed the correct blocks (soul sand or magma) at the bottom of the shaft.
How do I make my water elevator faster?
To speed up your water elevator, make sure you use soul sand and kelp correctly. Additionally, make sure the shaft is straight and free from obstructions. You can also consider making the shaft wider to avoid any chance of getting stuck.
Can I use any block for the elevator shaft?
Yes, you can use any solid block for the elevator shaft. However, using glass blocks can improve visibility and aesthetics. It’s a popular choice among many players for its clean look.
What should I do if water spills out of my elevator?
If water spills out, it usually means there’s a gap or an improperly placed block in your shaft. Check the entrances and exits and ensure that signs or doors are placed correctly to prevent water from flowing out.
Conclusion
Building a water elevator in Minecraft can greatly enhance your gameplay by providing quick and efficient vertical travel. This guide covers everything from gathering materials to constructing the shaft and adding water and bubbles. By following these steps and avoiding common mistakes, you’ll be able to create a reliable and stylish water elevator that suits your needs.
Keep in mind, crafting in Minecraft is all about creativity and exploration. Don’t hesitate to tweak the design and customize it to fit your unique style and requirements. Happy building!
Read other articles to learn more about elevators.


